Associate Project (Legacy Version)
Introduction
When generating source code projects, you can choose to associate them with the project currently open in the window. This allows flexible integration of newly generated projects with existing projects, facilitating unified management and feature expansion. This document demonstrates the merging of projects for Java Web Engineering (Legacy Version).
Associate Project/Submodule
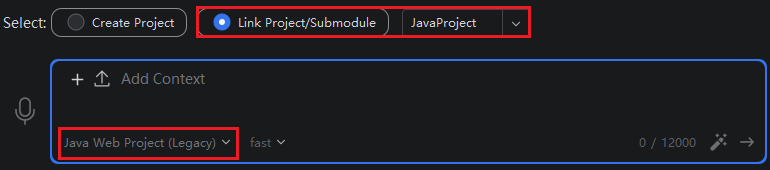
- In the first step when inputting the requirement description, select "Associate Project/Submodule", then select "Project" from the list. Then select "Java Web Engineering (Legacy Version)" mode.
Description: Submodules are other modules under this project. For more submodule content, please click on the "Associate Submodule" section below to view.
Description: According to your needs, you can choose whether to add context. After adding context, the generated source code will better meet your requirements, based on the context content. For usage details, please click "Associate Context" to view.
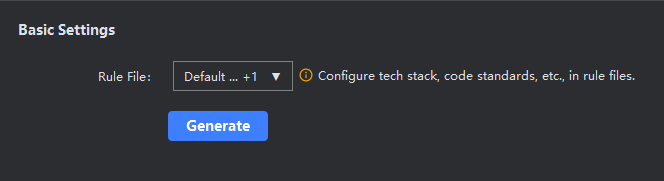
- In the source code generation step, select rules, or add custom rule content, click "Start Generation".
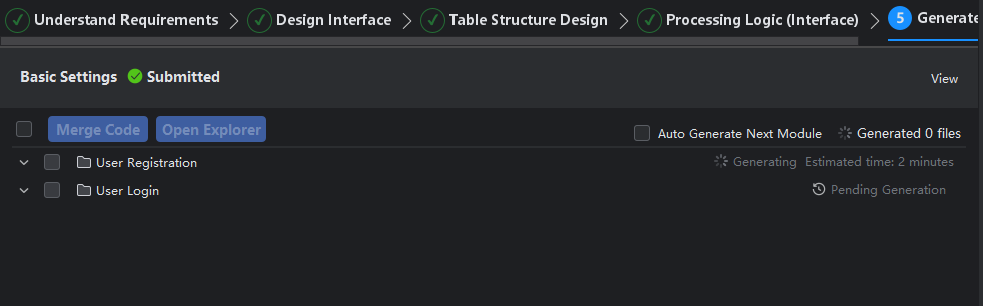
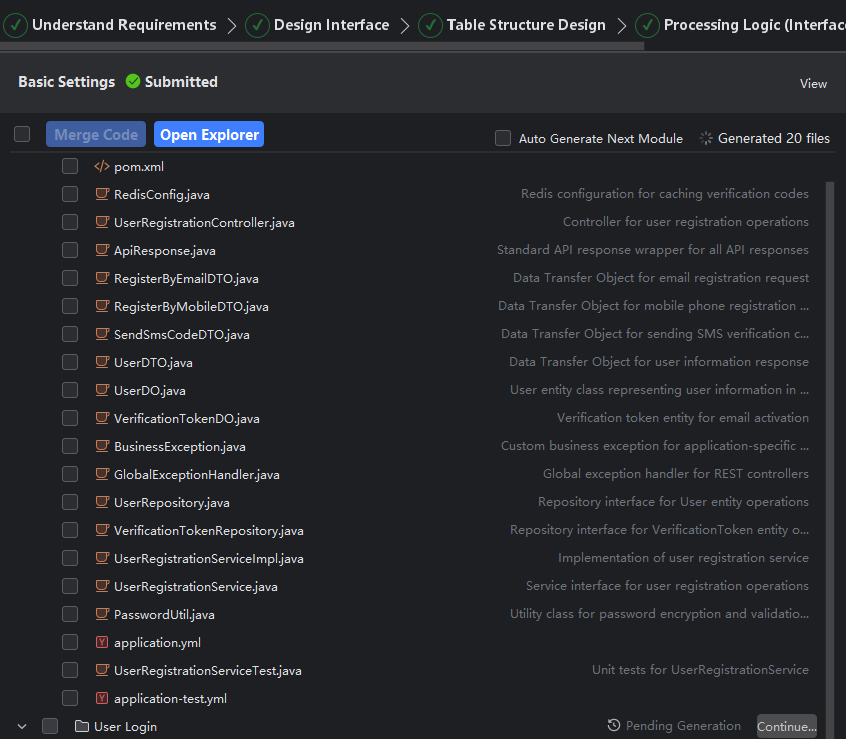
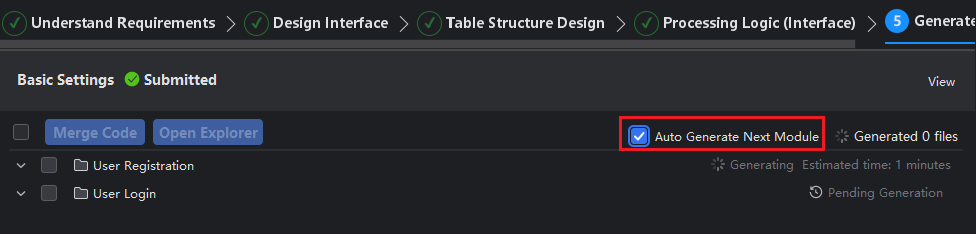
- Start generating source code information. If needed, you can check the "Auto-generate Next Module" button in the upper right corner.
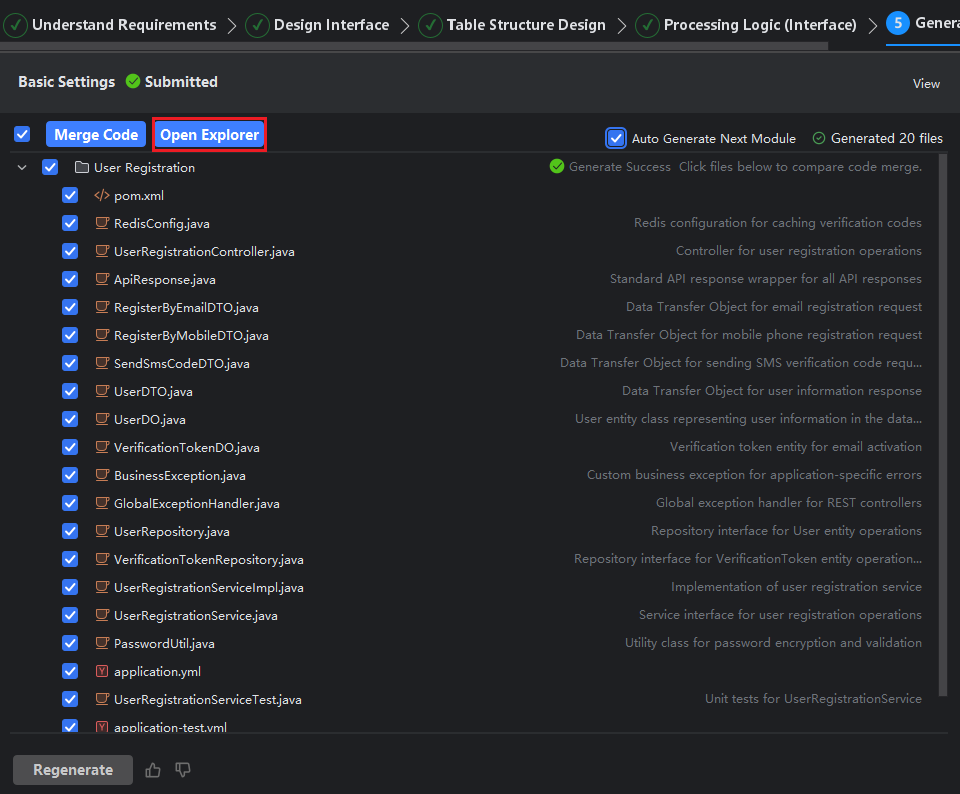
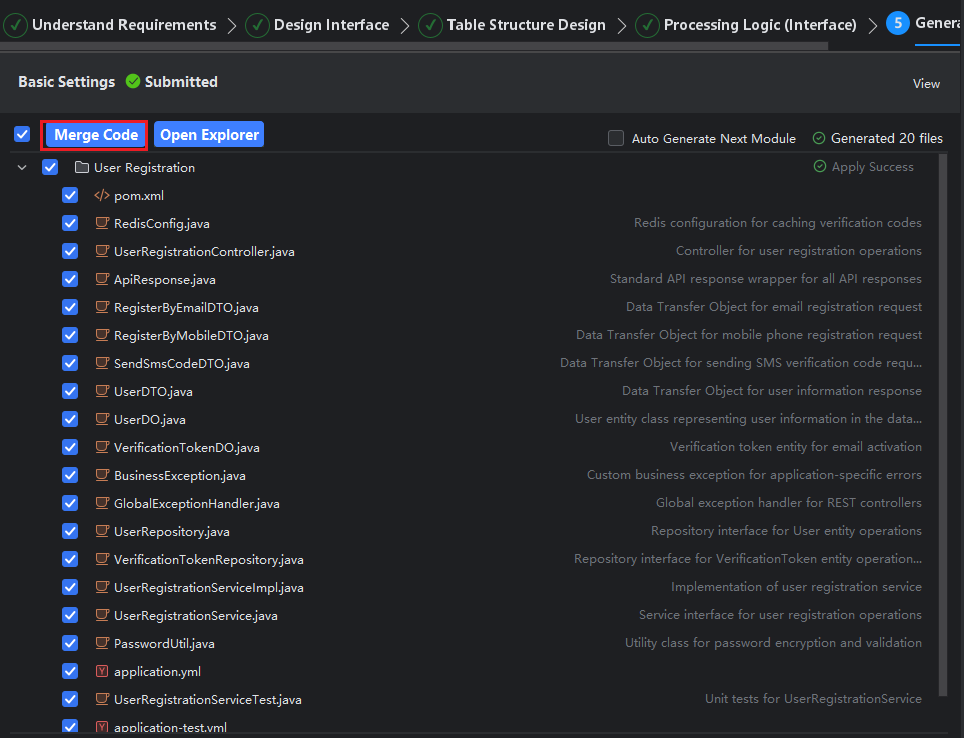
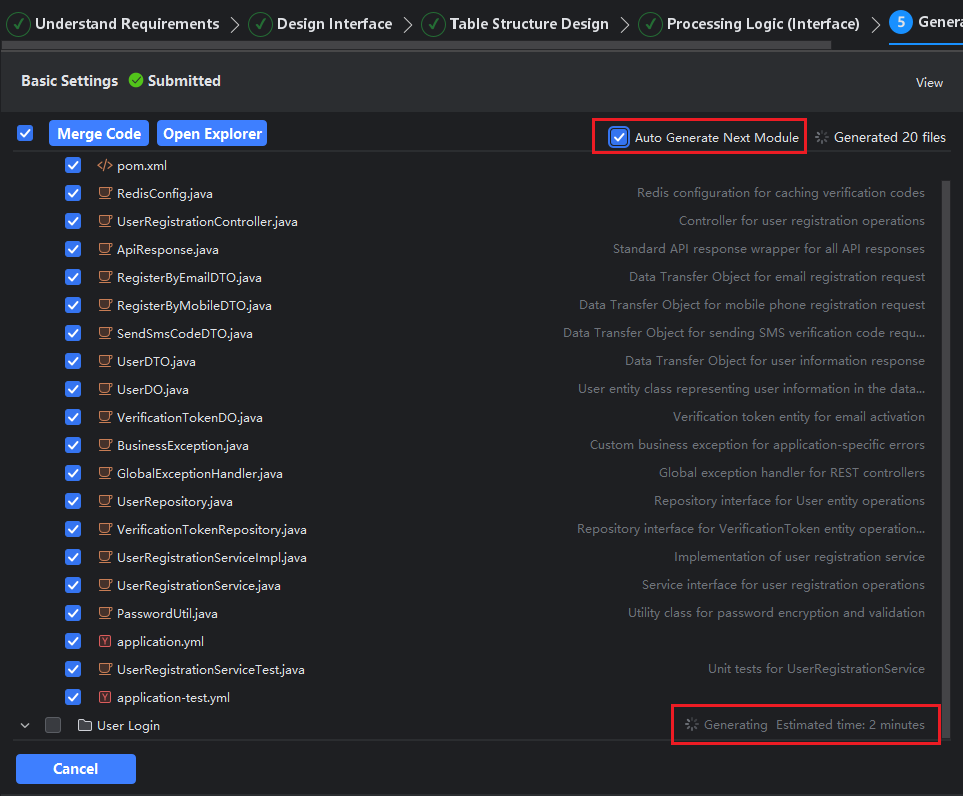
- After module generation is complete, click on the generated Java files to view their content, then check the required files and click "Merge Code".
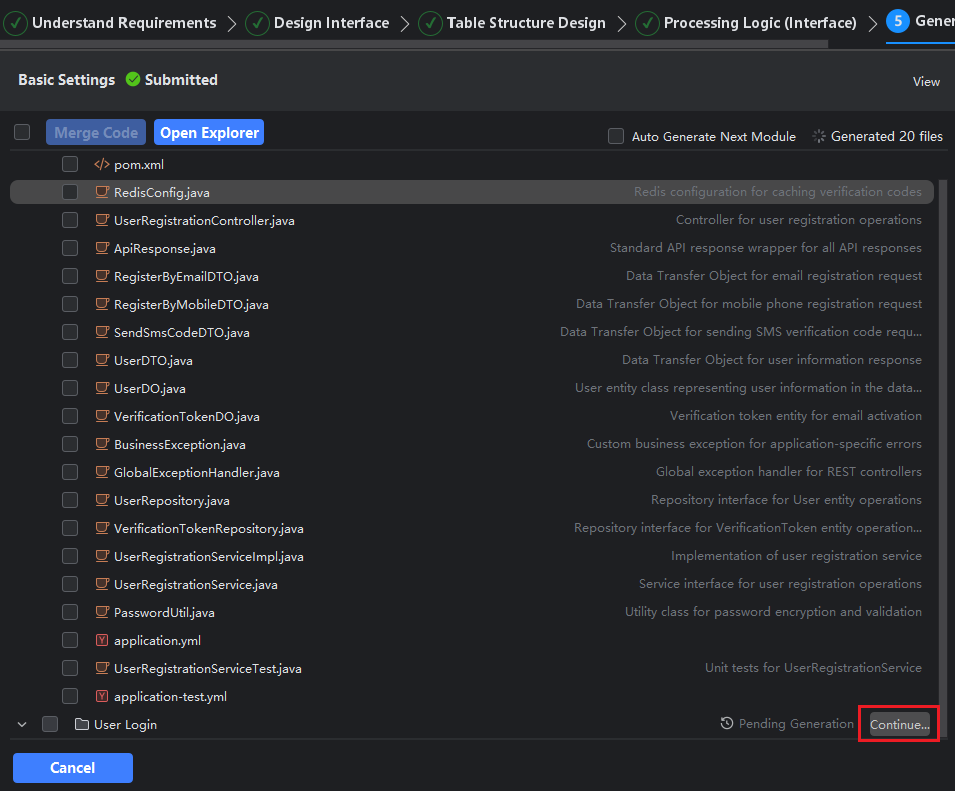
Description: Merging project source code is done module by module. After the first module is generated, you can choose which module's source code to generate next based on your needs, and click "Continue Generation" for the corresponding module.
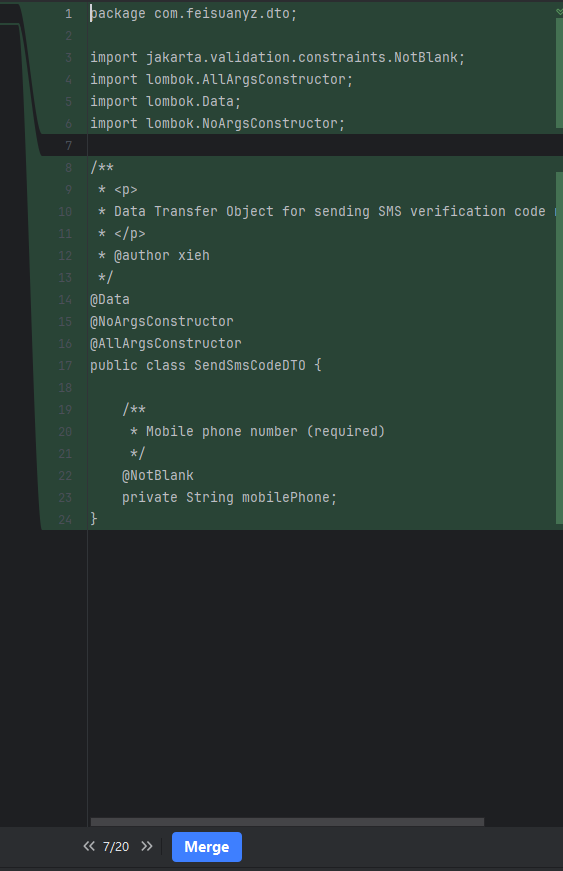
Description: Viewing code files only previews the code content. Since the required jar packages are not loaded, if code appears highlighted in red, this is normal. After selecting files and merging code, there will be no red highlighting. The left side shows existing code, while the right side shows new code, with the comparison result between the two. If the original project does not have this Java file, the left side will be empty.
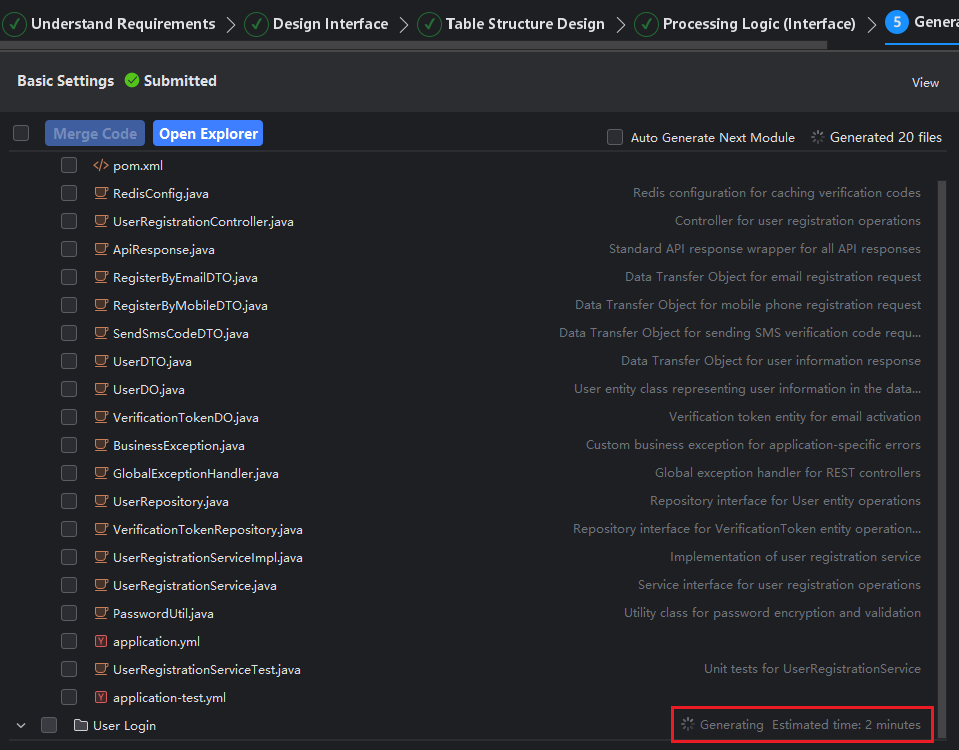
- Click the "Continue Generation" button to continue generating the next module's content.
- Check the required files, then click "Merge Code". Merge the currently checked files into the current project.
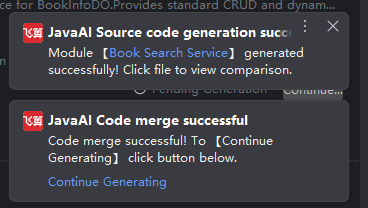
- After merging, the system will automatically merge the files checked for the current module. After successful merging, it displays the merged files and their locations.
Description: Can only merge to the project currently open in the window.

After merging is complete, if there are unchecked files, you can check the unchecked files as needed, then click "Merge Code". The system will merge the currently checked files again.
- After all modules have been generated, a success notification will pop up in the bottom right corner. Clicking the name will directly jump to the corresponding details.
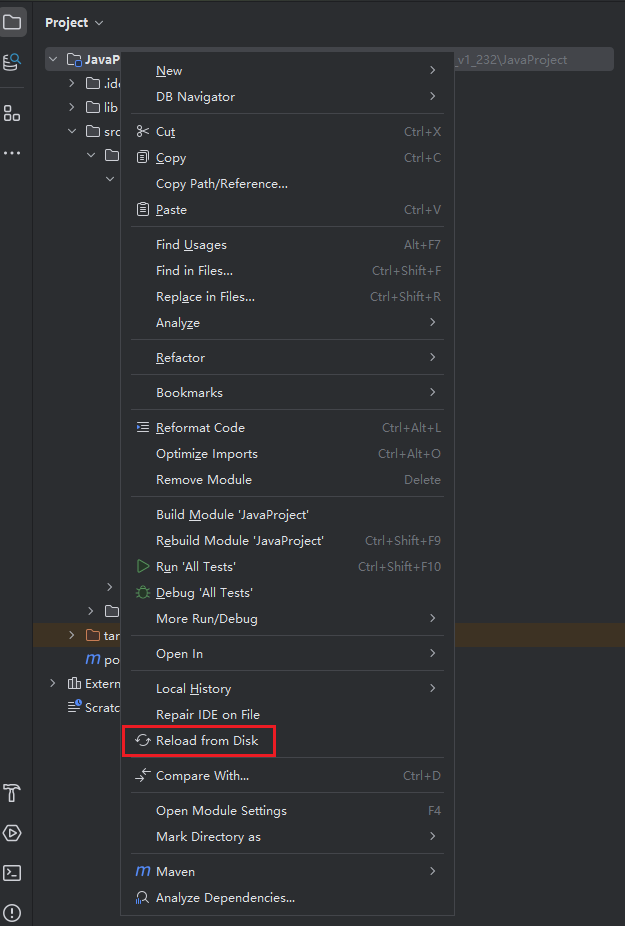
Description: If you cannot see the merged files, refresh the project cache and you will be able to see the merged files in the corresponding path.
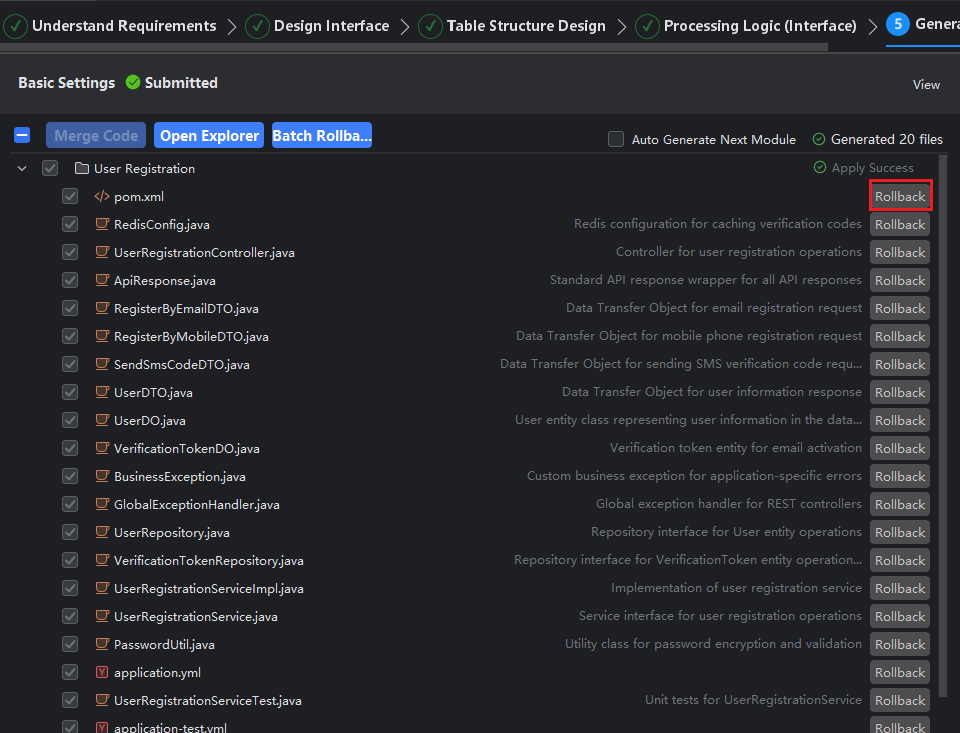
- After merging is complete, if you need to roll back the merged code, simply click "Rollback". When needed later, you can continue to check files for merging.
Auto Generate Next Module
- You can check "Auto Generate Next Module," and subsequent modules will be generated automatically without the need to manually click "Continue Generation."
Open Explorer
- You can click "Open Explorer" to view the directory where the generated source code is located.